Print Recipe
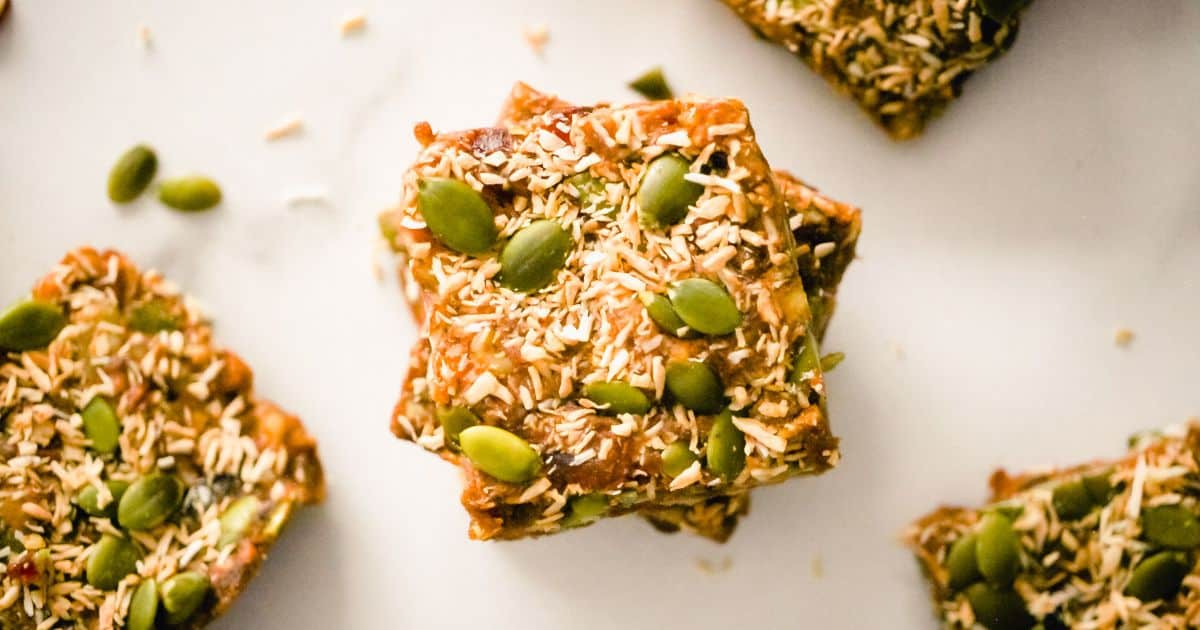
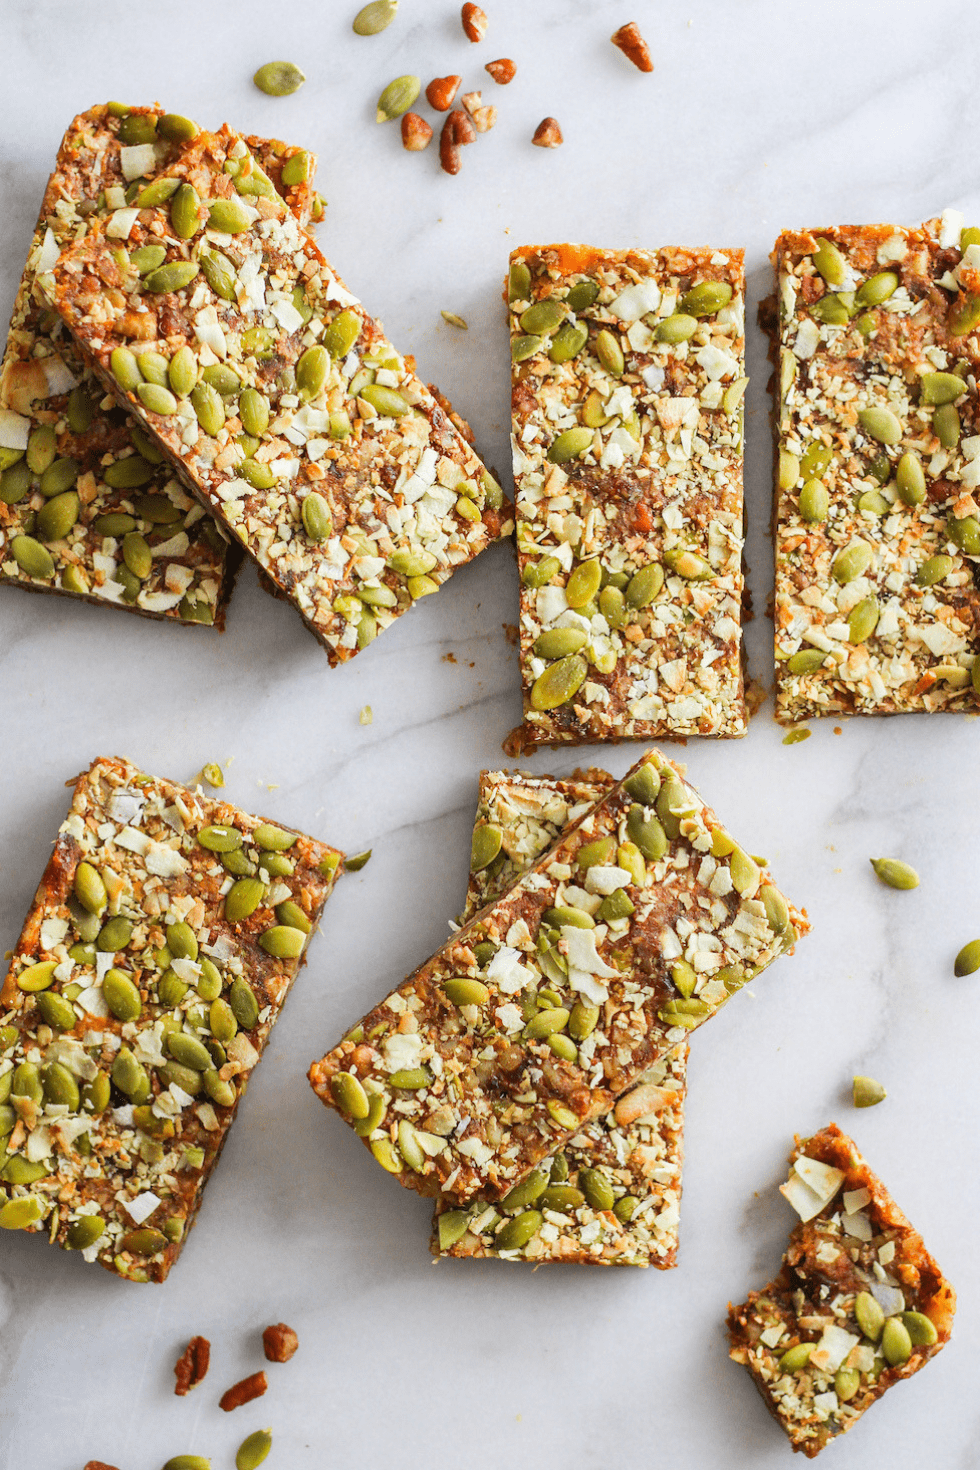
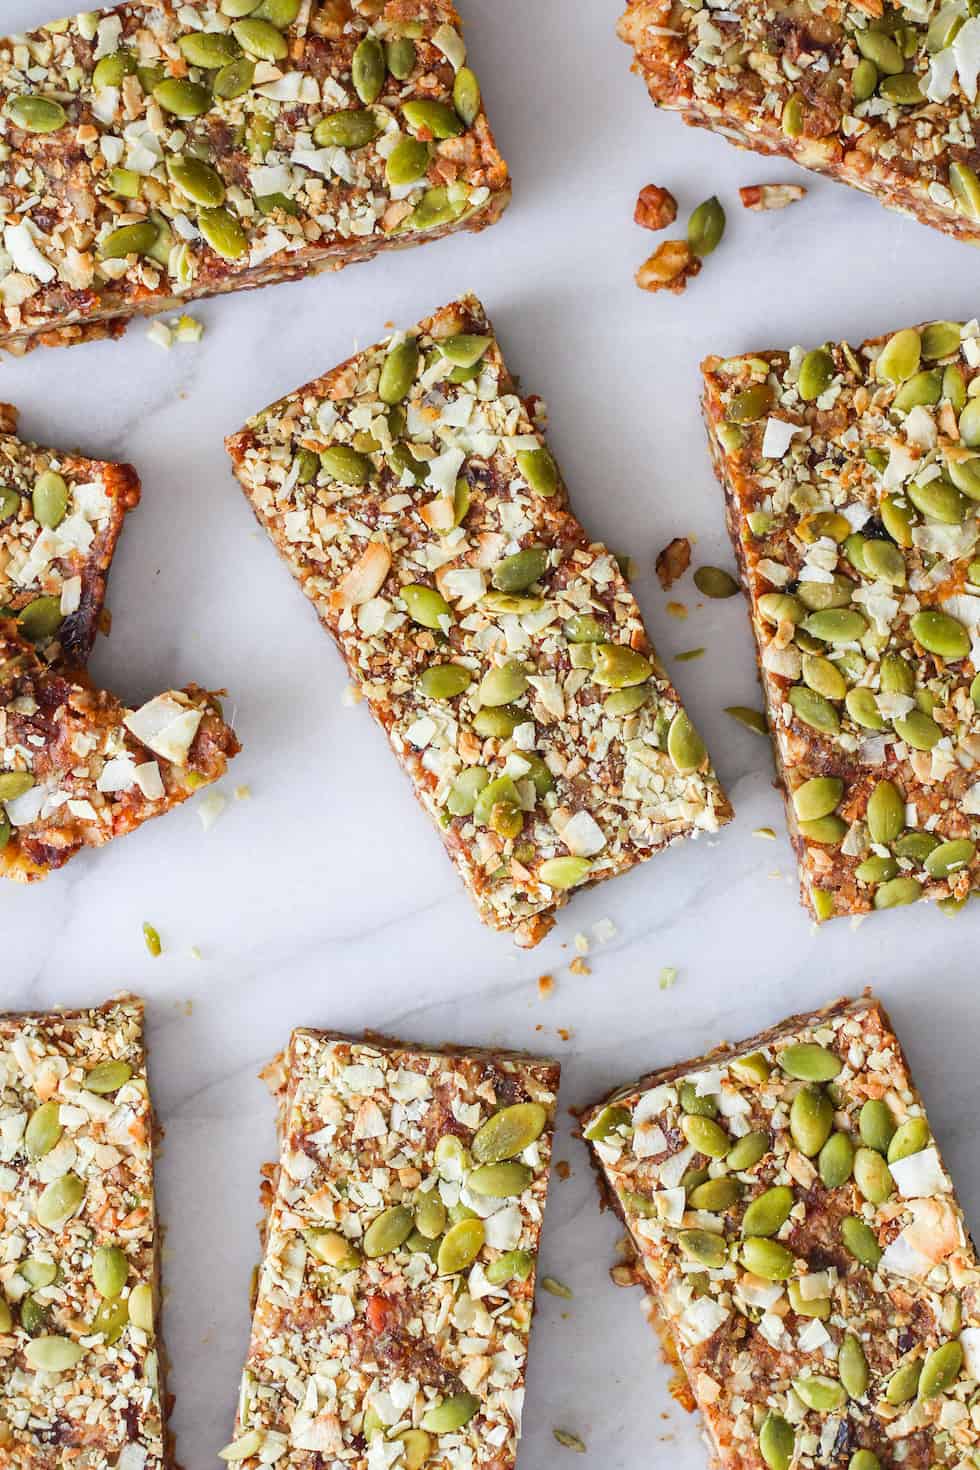
Prepping your own healthy snack is easy with this recipe for Homemade Sweet Potato Energy Bars. These no-bake bars are naturally vegan and have no added sugar. They’re great for an on-the-go breakfast, packable snack, or healthier dessert to always keep stocked in your freezer. You only need cooked sweet potato, dates, nuts, and few more simple pantry essentials!
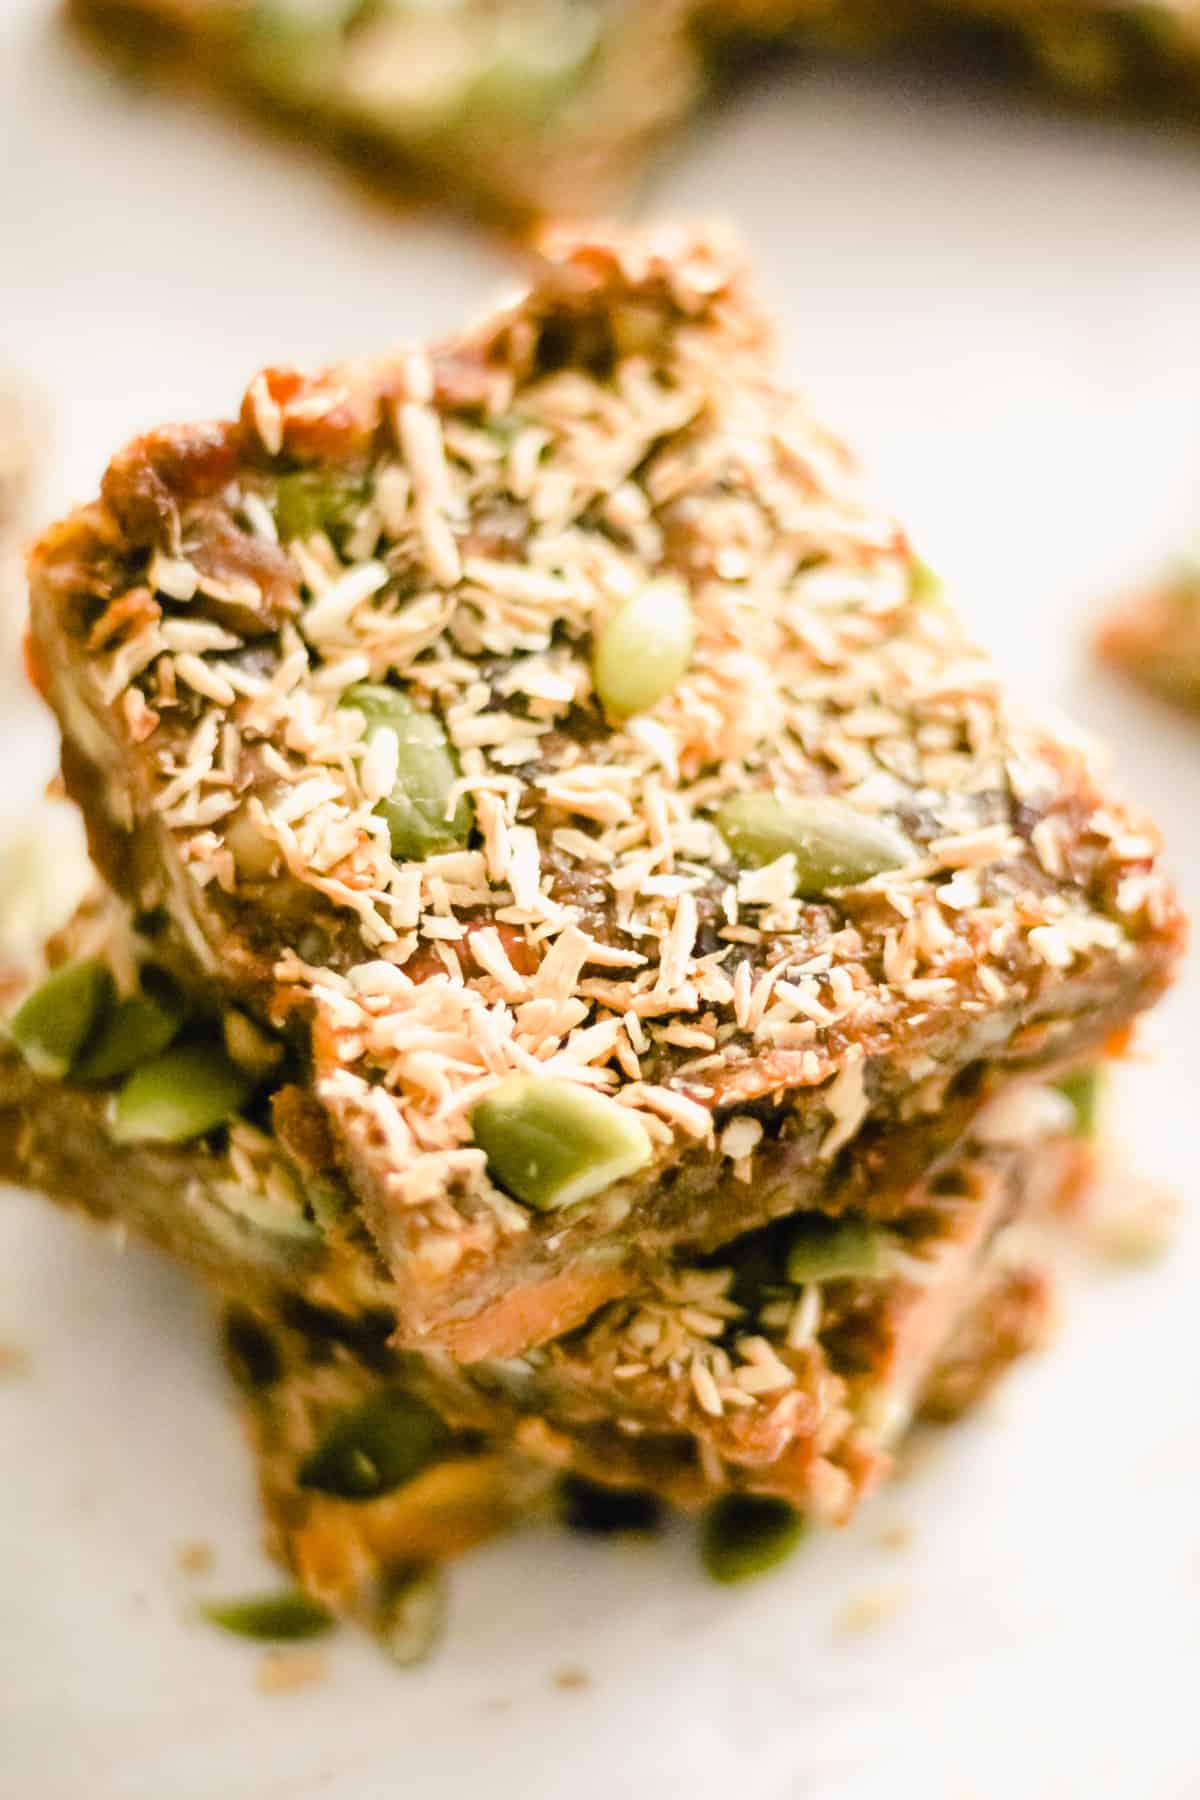
With sweet potato, cinnamon, vanilla, and pumpkin pie spice, these bars are obviously perfect for fall. But really, they’re delicious anytime of year.
I especially like to prep these anytime I have leftover cooked sweet potato in the fridge. There’s no cooking or baking required if you already have the sweet potato ready to go. (Roast up an extra one next time you make these 7-Ingredient BBQ Tempeh Loaded Sweet Potatoes. You won’t regret it.)
With a balanced mix of carbs, fat, protein, and fiber, these bars offer up a quick bite that’ll help you feel energized longer.
Grab a couple on your way out the door on a busy morning (so much better than skipping breakfast) or pack one in your bag for a mid-afternoon pick-me-up. They’re a tasty treat to enjoy whenever a dessert cravings strikes, too!
Jump to:
- Ingredients
- Preparation
- Instructions
- Substitutions
- Variation
- Equipment
- Storage
- Top tip
- Frequently Asked Questions (FAQ)
- 📖 Recipe
Ingredients
Along with the cooked sweet potato, you’ll just need a few basic pantry staples to make these homemade energy bars.
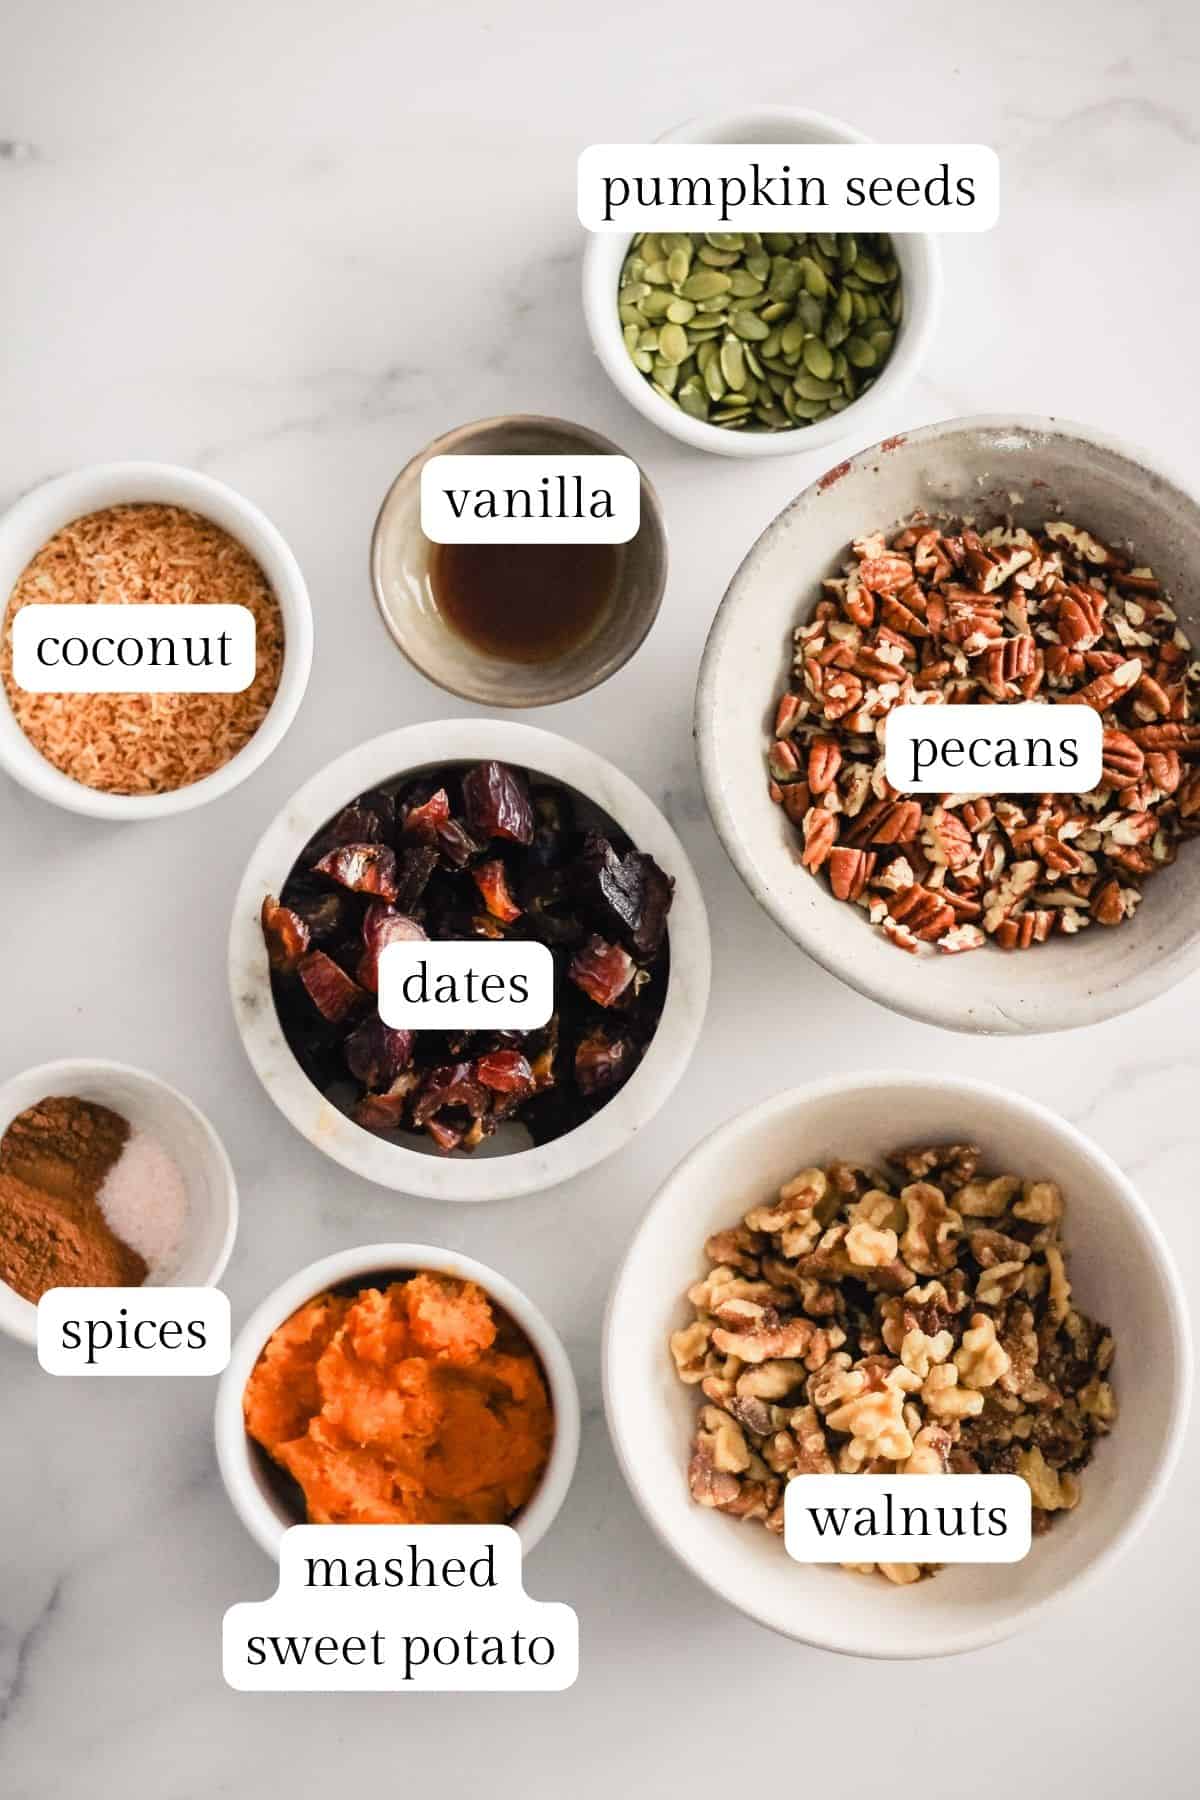
- Dates – You need pitted dates for this recipe, but I like to buy whole dates and remove the pits myself. (I think the whole dates have better texture!) Feel free to purchase pre-pitted dates for added convenience if you prefer.
- Pecans – You can buy them pre-chopped (AKA pecan pieces) or chop them yourself.
- Walnuts – Like with the pecans, it doesn’t matter if you buy chopped walnuts, walnut halves and pieces, or chop the nuts yourself.
- Pumpkin seeds – These are also called pepitas.
- Mashed sweet potato – I’m including instructions for how to cook mashed sweet potato below and in the recipe card at the end of the post.
- Coconut – You can use coconut flakes or shredded coconut. Just make sure to get it unsweetened.
- Spices (ground cinnamon and pumpkin pie spice) – If you don’t have pumpkin pie spice, you can make your own using a mix of ground cinnamon, ginger, nutmeg, cloves, and allspice. Try this Homemade Pumpkin Pie Spice recipe from Sally’s Baking Addiction.
- Vanilla extract – Use pure vanilla extract if possible.
See the recipe card at the end of the post for exact quantities.
Preparation
If you don’t have leftover cooked sweet potato, you’ll need to make some before you start this recipe. Optionally, you can also toast the coconut to bring out some extra flavor.
Here’s how to prep both ahead of time.
Mashed Sweet Potato
Stovetop method: Slice a sweet potato in half and transfer it to a pot. Add enough water to fully cover the sweet potato. Bring to a boil and cook for 25 minutes, or until the sweet potato is tender. (It should be very easy to pierce it with a fork.) Drain and allow the sweet potato to cool. Once it’s cool enough to handle, peel off the skin and use a potato masher or fork to mash until smooth.
Oven method: Preheat the oven to 450 degrees Fahrenheit. Pierce a sweet potato multiple times with a fork and place it directly on the center rack of the oven. Bake for 45 minutes, or until tender. (It should be very easy to pierce it with a fork.) Remove the sweet potato from the oven, allow it to cool. Once cool enough to handle, slice it in half, peel off the skin, and use a potato masher or fork to mash until smooth.
Toasted Coconut
I like to toast coconut in the oven for the best results.
Preheat the oven to 325 degrees Fahrenheit and spread coconut flakes or shredded coconut on a baking sheet. Bake for about 5 minutes, or until golden brown.
It’s important to watch this closely because the coconut can easily burn if it’s left for even a minute too long!
Instructions
Making your own energy bars is really simple. Here’s a basic summary of the steps. You can find more detailed instructions in the recipe card at the end of the post.
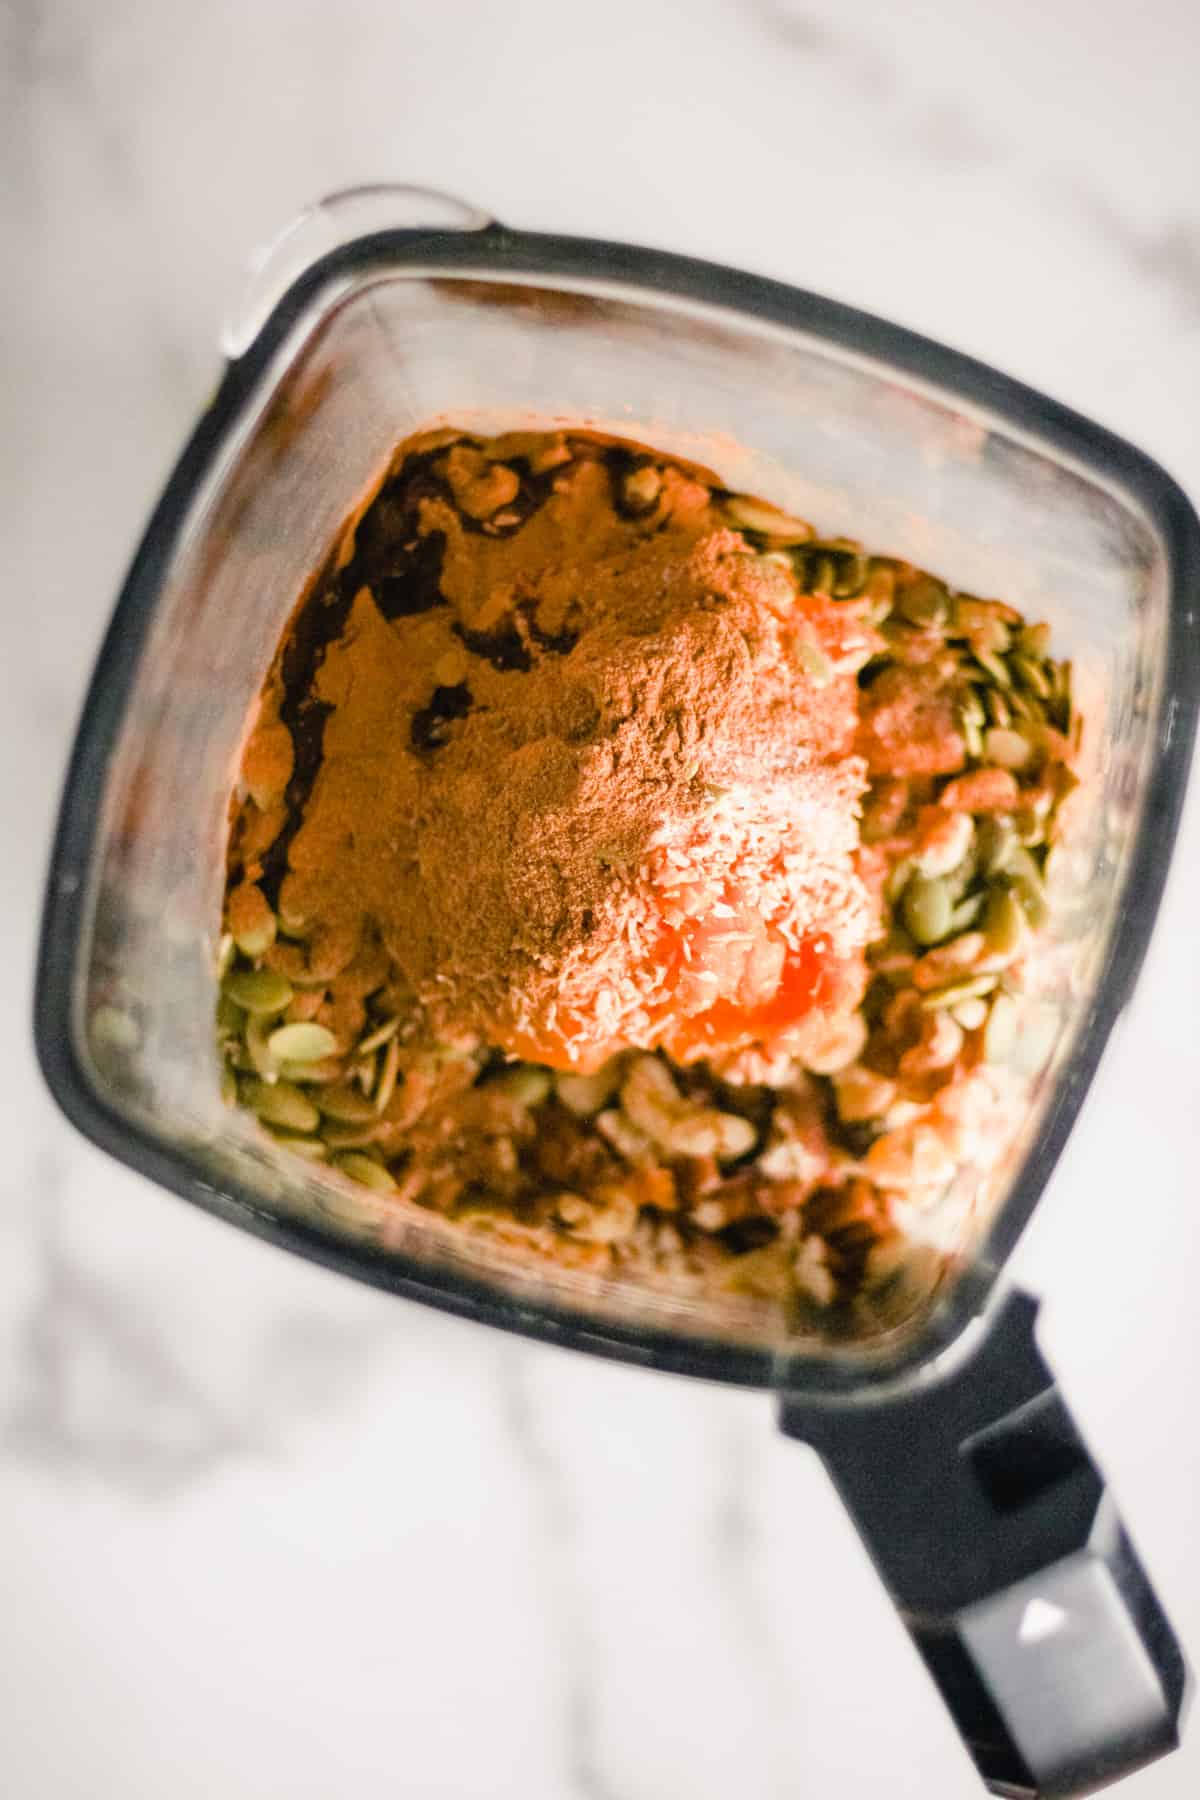
Add the ingredients to a food processor or blender and pulse until the mixture is broken up into small pieces. It should stick together when you press it between your fingers.
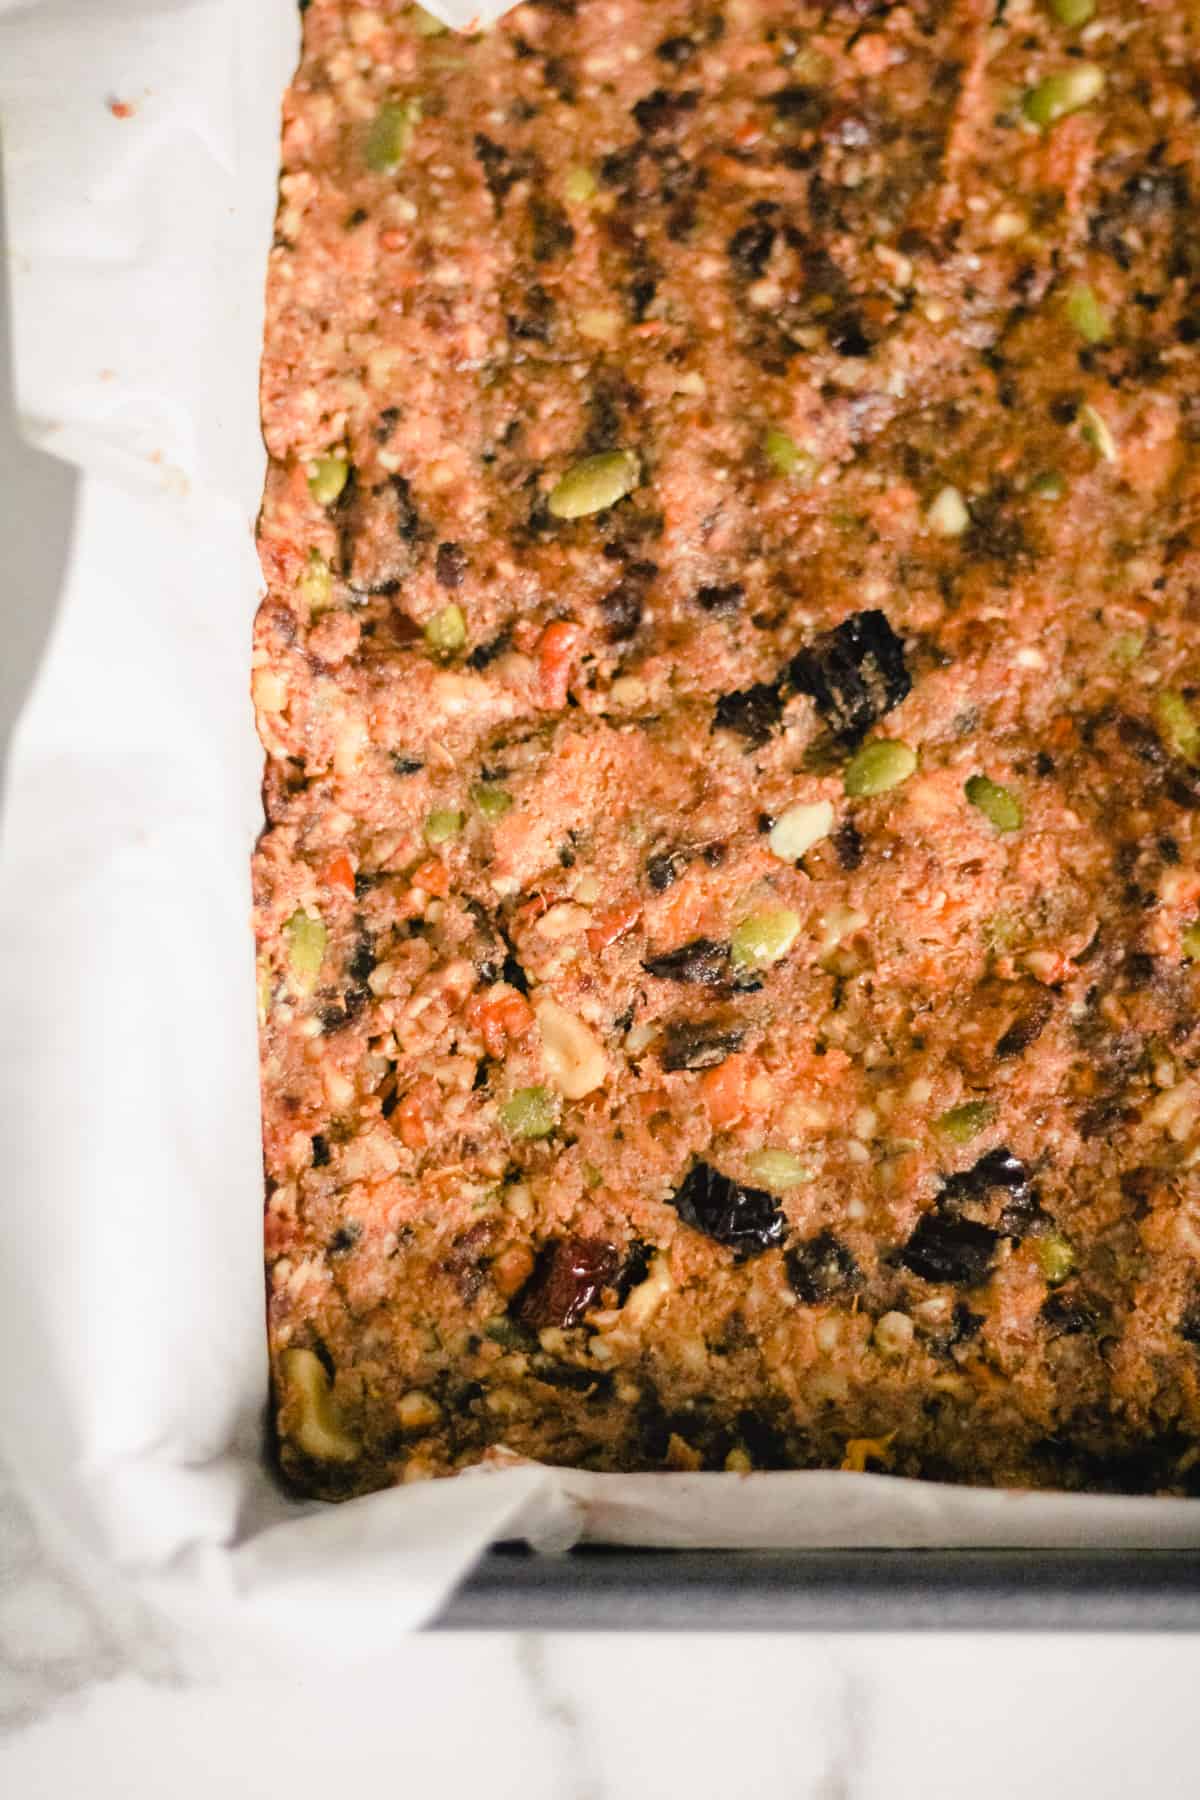
Transfer the mixture to a parchment-lined square baking dish. Press firmly so it sticks together.
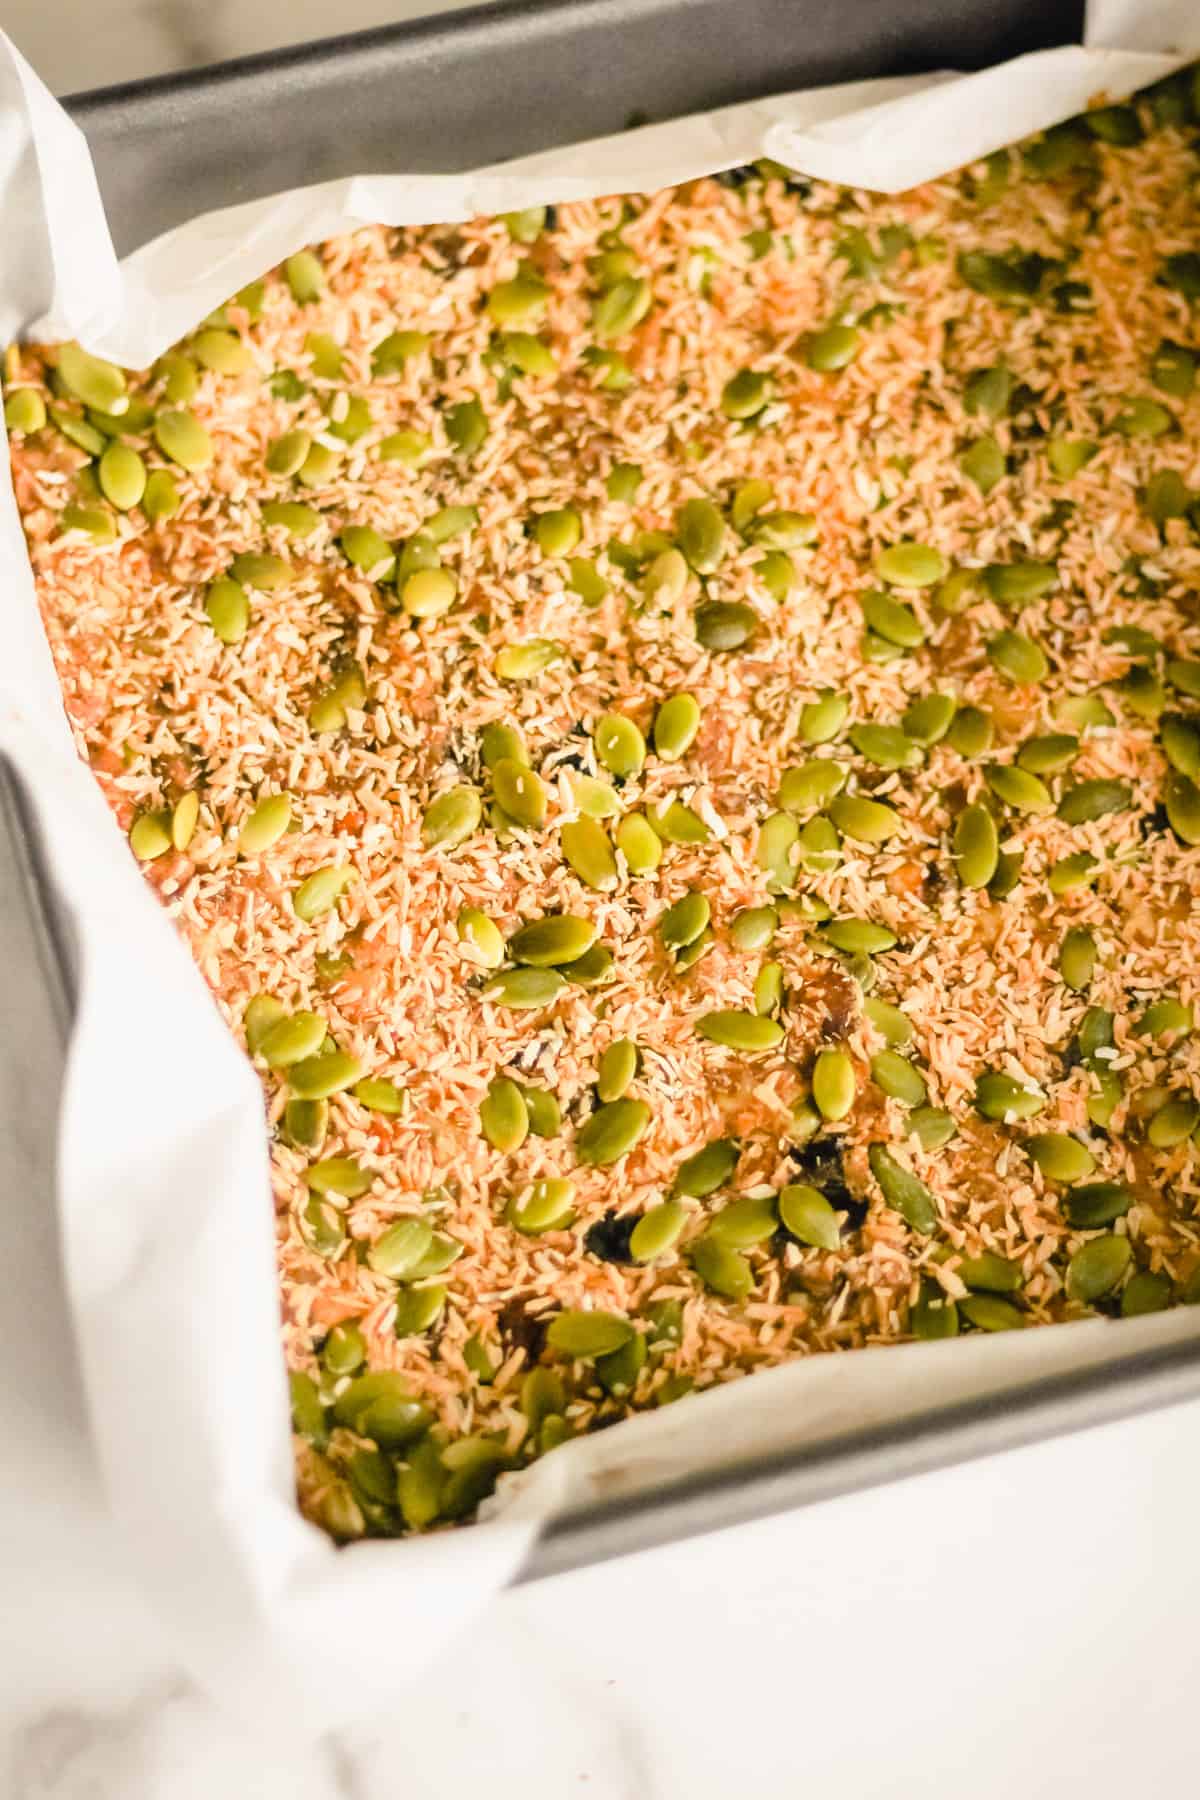
Add toppings (optional) and freeze for at least two hours.
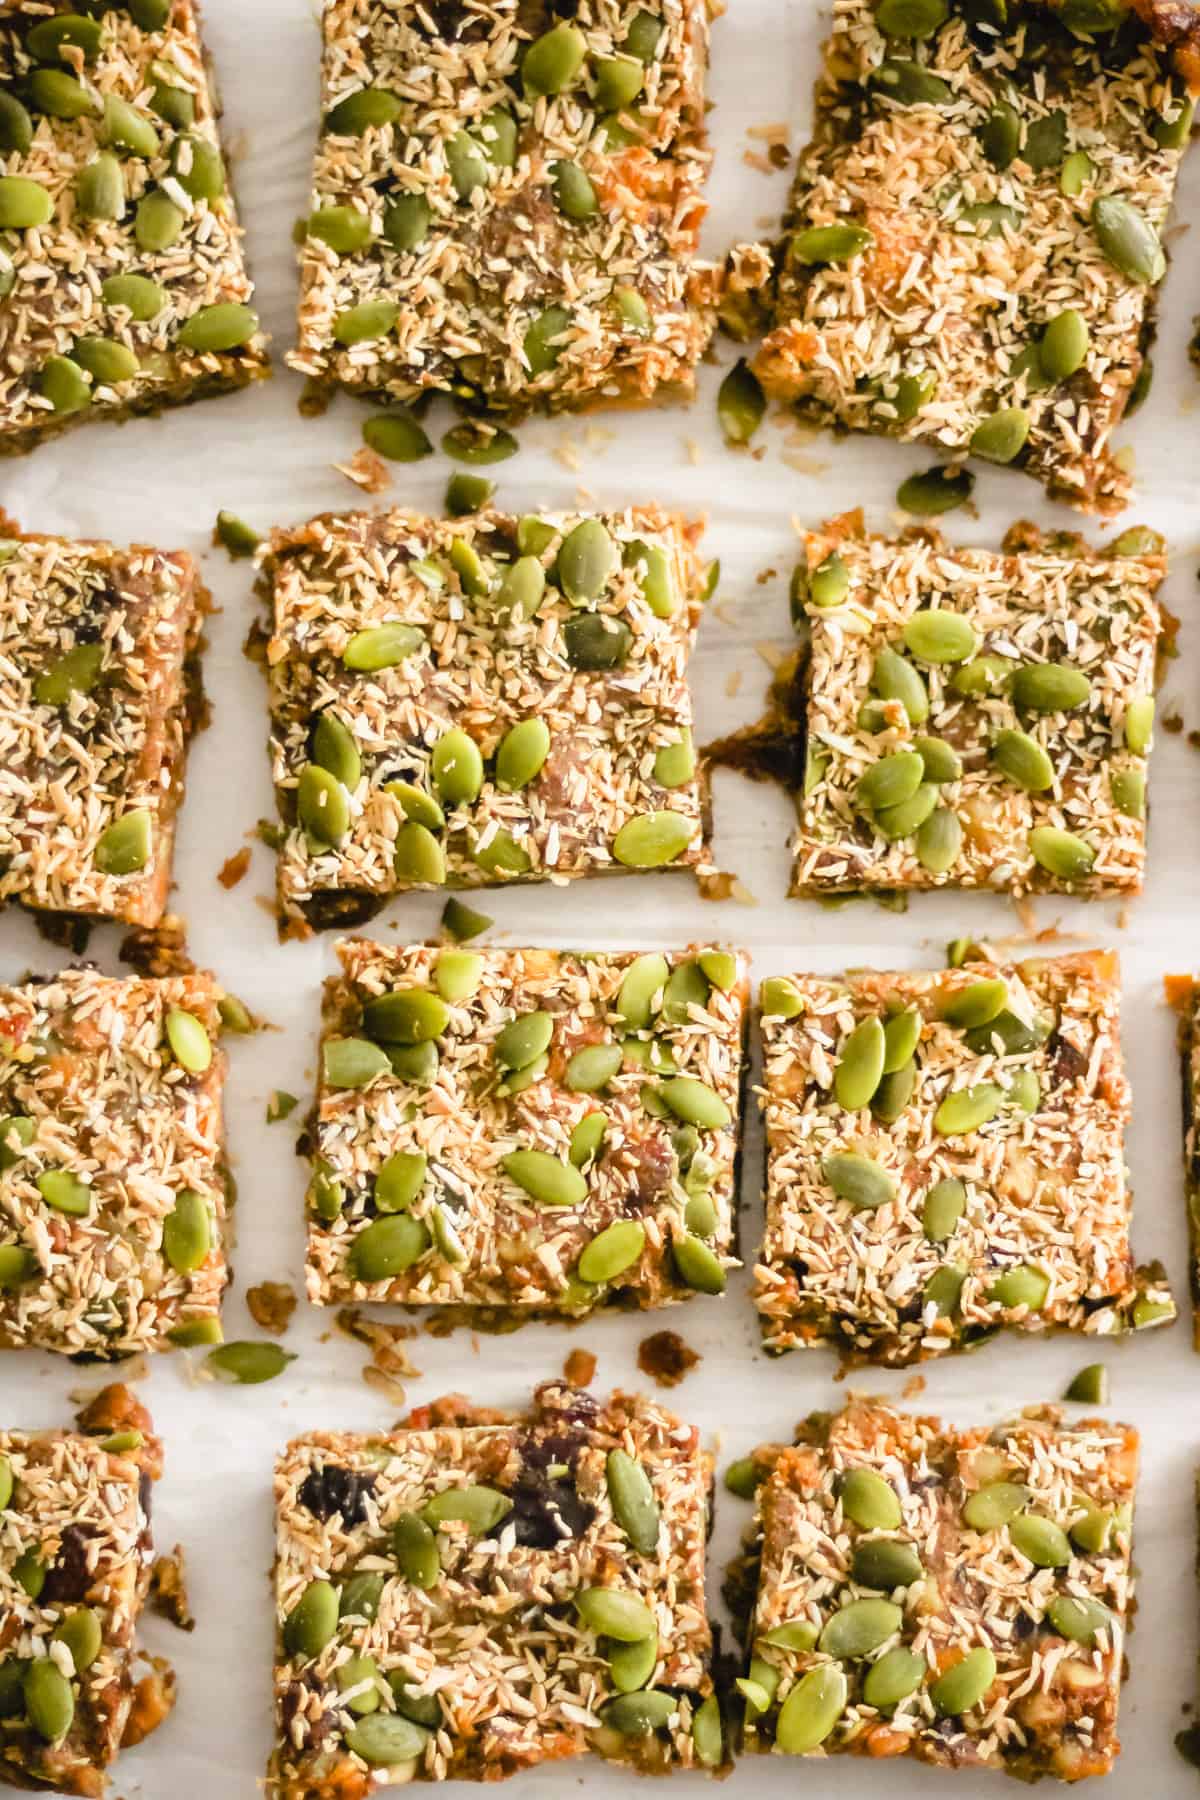
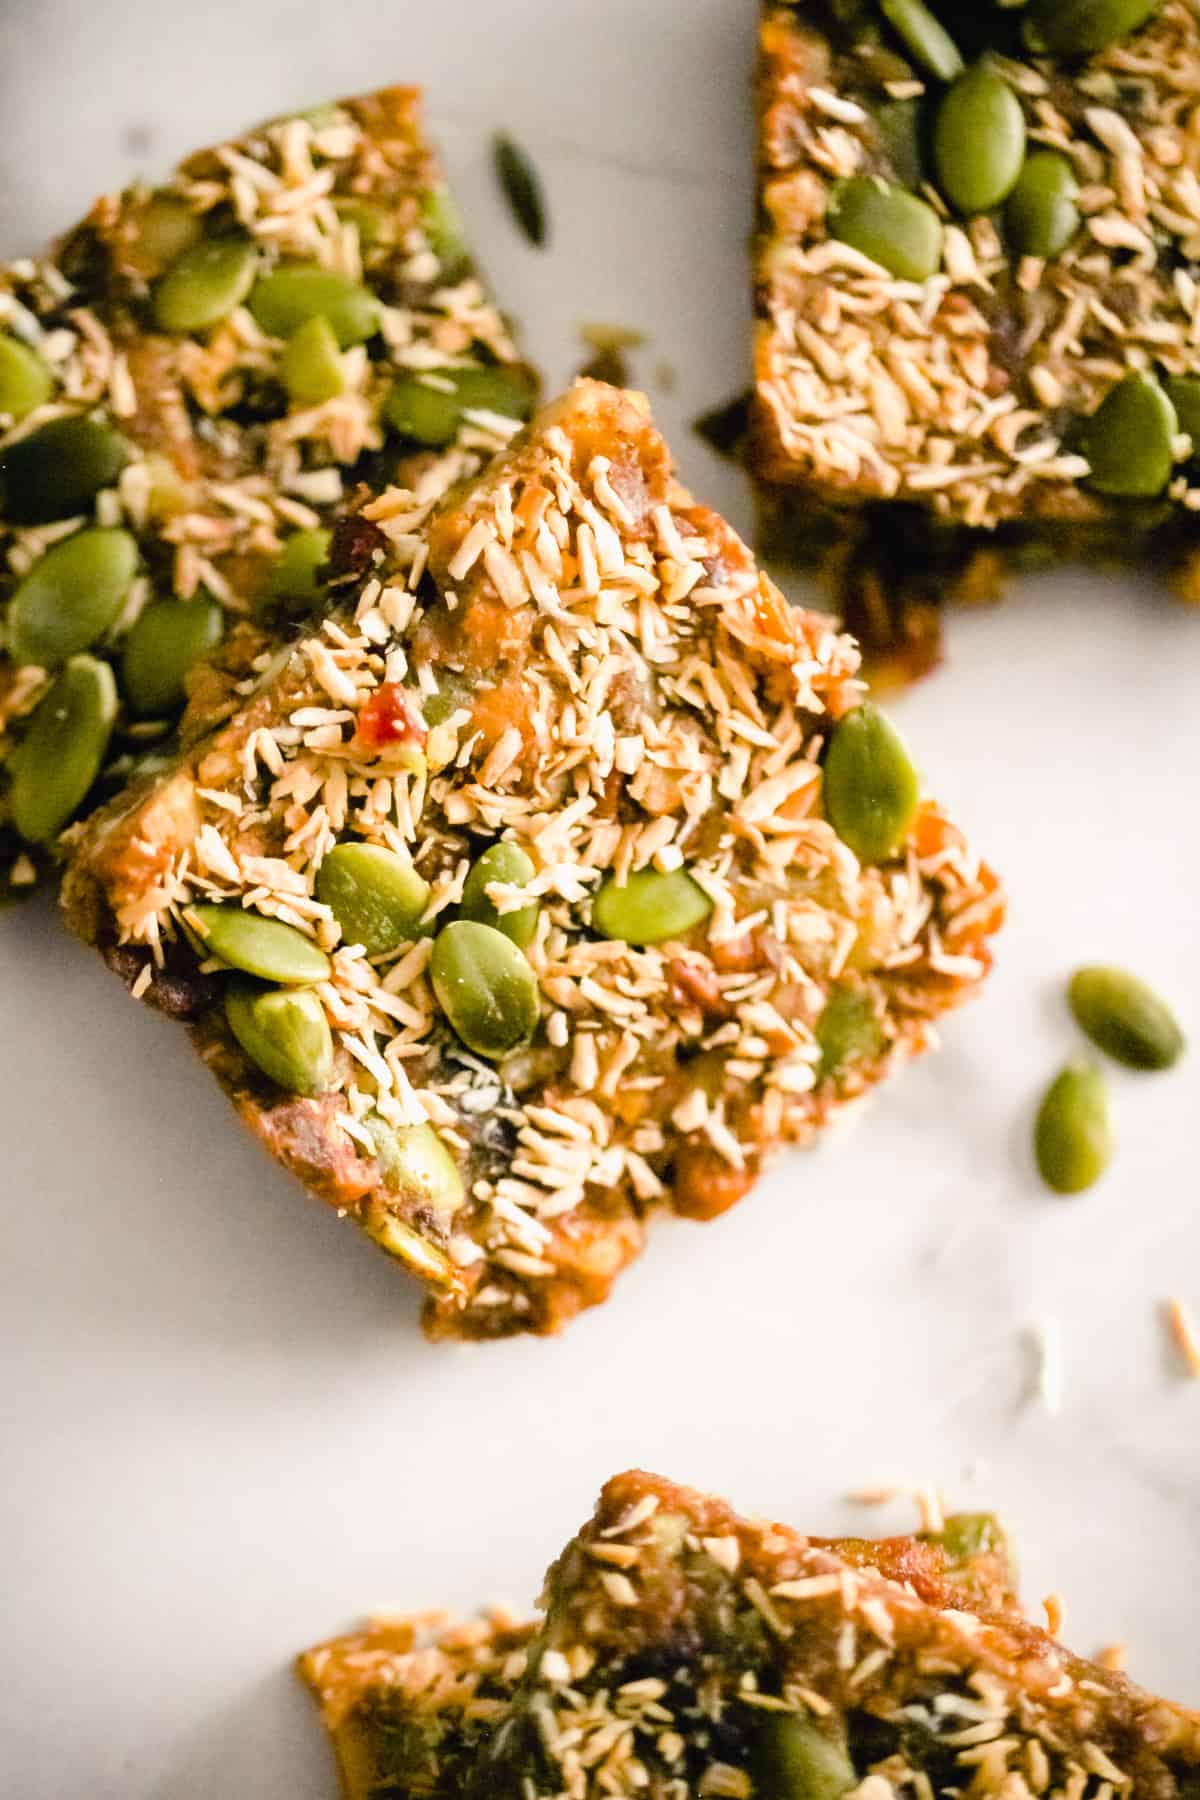
Slice into 8-16 pieces (depending on desired size) and enjoy!
Hint: For square-shaped bars, cut into 16 pieces. For larger, rectangular bars, you can slice into either 8 or 12 pieces.
Substitutions
- Pumpkin Pie Spice – If you don’t have pumpkin pie spice (and don’t want to make your own), just substitute an additional teaspoon of ground cinnamon.
- Nuts – The nuts in this recipe are interchangeable. So if you don’t have pecans, you can substitute additional walnuts (and vice versa).
Variation
- Pumpkin – use canned pumpkin puree or mashed winter squash instead of the sweet potato.
If you’re looking for more homemade bar recipes, try my Coconut Matcha Energy Bars and Easy No-Bake Sesame Date Bars!
Equipment
Food processor or blender: A full-size food processor works best for this recipe, but you can still make these bars with a blender if needed. (You’ll probably just need to pause more often to stir and scrape the edges of the container with a spatula.) If you only have a small food processor/chopper, stir together the ingredients in a mixing bowl and then process in batches as needed.
8×8-inch baking dish: A square baking dish acts as a mold for the bars to take on their shape.
Parchment paper: You could technically make these without, but parchment paper makes it a lot easier to remove the bars from the pan once they’re frozen. It also makes cleanup easier.
Storage
These energy bars stand up well to freezing, and you can store them in a freezer-safe bag or airtight container for up to six months.
If you don’t have access to a freezer, refrigerate the bars in an airtight container for up to five days.
I find that these bars hold their structure best when frozen, but they’ll still taste great if you store them in the fridge. I think they’re still easy to chew right out of the freezer!
Because they contain cooked sweet potato, you shouldn’t leave them at room temperature for more than two hours.
Top tip
If you use a blender to make these bars, you will probably need to pause to scrape the sides of the container with a spatula. It also helps to stir the mixture occasionally until it’s evenly blended.
Frequently Asked Questions (FAQ)
Homemade energy bars last up to six months if you store them in the freezer.
For long-lasting energy, look for energy bars with a mix of carbohydrates, fat, and protein. Nuts, seeds, and dates provide an energizing mix of nutrients.
📖 Recipe
Sweet Potato Energy Bars
Pin
Save Saved!
Rate
Equipment
-
Food processor or blender (see note)
-
8 x 8-inch baking dish
-
Parchment paper
Ingredients
- 12 dates pitted and chopped
- 1 cup chopped pecans or pecan pieces
- 1 cup chopped walnuts or walnut halves and pieces
- ½ cup mashed sweet potato (see note)
- ¼ cup pumpkin seeds also called pepitas
- ¼ cup unsweetened shredded coconut or coconut flakes, toasted if desired (see note)
- 2 teaspoons ground cinnamon
- 1 teaspoon pumpkin pie spice
- 1 teaspoon vanilla extract
- ½ teaspoon salt
Optional toppings:
- 2 tablespoons pumpkin seeds (also called pepitas)
- 2 tablespoons unsweetened shredded coconut or coconut flakes, toasted if desired (see note)
Instructions
-
Add dates, pecans, walnuts, mashed sweet potato, pumpkin seeds, coconut, cinnamon, pumpkin pie spice, vanilla, and salt to a blender or food processor container. Pulse until the mixture is broken up into small pieces and sticks together when you press it between your fingers. You may need to pause to scrape the edges of the container with a spatula and stir the mixture for even blending.
-
Line an 8×8-inch baking pan with parchment paper. (This makes it easier to pull out the bars once they’re frozen.) Transfer the mixture to the pan and press firmly with your hands or a spatula to help the bars stick together.
-
Press additional pumpkin seeds and coconut flakes on top of the mixture if desired.
-
Cover and freeze for 2 hours, or until set.
-
Remove the pan from the freezer and pull out the parchment paper to remove the bars from the pan. Transfer the mixture to a cutting board and slice into 8, 12, or 16 pieces (depending on desired size).
Notes
Stovetop method: Slice sweet potato in half and transfer to a pot. Cover with water and bring to a boil. Boil for 25 minutes, or until the sweet potato is tender. (It should be very easy to pierce with a fork.) Drain and allow the sweet potato to cool. Once cool enough to handle, peel off the skin and use a potato masher or fork to mash until smooth.
Oven method: Preheat oven to 450 degrees Fahrenheit. Pierce sweet potato multiple times with a fork and place directly on the center rack of oven. Bake 45 minutes, or until tender. Remove sweet potato from oven, allow to cool, and slice in half. Once cool enough to handle, peel off the skin and use a potato masher or fork to mash until smooth.
To prepare toasted coconut:
Stovetop method: Add coconut to skillet and cook over medium heat, stirring often, 5 minutes, or until brown. Remove from heat immediately to avoid burning. Watch closely because the coconut can easily burn if left too long.
Oven method: Preheat the oven to 325 degrees Fahrenheit. Spread coconut on a lined baking sheet and transfer to the oven. Bake for 5 minutes, or until golden brown. Watch closely because the coconut can easily burn if left too long.
Blender/food processor note: A full size food processor works best for this recipe. If you use a blender, you will probably need to pause to scrape the sides of the container with a spatula. It also helps to stir the mixture occasionally until it’s evenly blended. If you only have a small food processor/chopper, stir together the ingredients in a mixing bowl and then process in batches as needed.
Storage: Store bars in a freezer-safe bag or airtight container for up to 6 months or refrigerate for up to 5 days. (I prefer to freeze them so they’re sturdier and last longer.)
Nutrition facts are estimates only and are based on a serving size of 1 bar after cutting the bars into 16 pieces.

